Today I have a Pinterest inspired DIY project for you. I was so excited to try this out and even more excited to share it with you. Make them as gifts or fill your tree with them. I love the way the light catches the mirrored CD, and most likely people will think you paid a lot for them!
Best part is you can probably find the main item right near your computer. Here are the items you need:
Plastic globe Orament $1.99- Michael's
Blank CD ( new or old )
Rhinestones of your choice
Glue & Scissors
Watch my Youtube tutorial here
Finished project!
Let me know if you try this and make sure to post a pic on Instagram and hashtag #aimtocreate
I love pumpkins, but I'm definitely not the best at carving them. Not to mention they don't usually last like they did when I was a kid, so you usually end up tossing them out before the season is even over.
So this year I decided I wanted to make some pumpkin decorations that would last through the years, plus who's kidding here. I love me some fancy decor :)
Off to Michael's I went in search of some foam pumpkins. Now while regularly priced they aren't exactly cheap, good ole' Michael's was already have huge discounts on them and we aren't even in the second week of October yet.
I also headed over to the Dollar store where I had heard they had some foam one's as well. Not quite as big, and a little crude to the eye I snatched some up with the idea in mind that I would be leading them through a transformation.
Michael's foam pumpkin: $8.99 regularly with 50% off.
Dollar store pumpkin : $1.00 (duh:)
Pinterest had given me the inspiration to use some lace tights pulled over a pumpkin. I just so happened to have a spare pair in my closet that I didn't need anymore :)
The lace detail is so cool once pulled over the pumpkin!
I picked up a 8 inch black lace doily I found in the dollar section at Michael's
Another dollar section find, but was $1.50. It's 3 yards of rhinestone trim! What a deal!
These cute Halloween picks were $2.99 with 40% off
I use all four for both pumpkins so was definitely worth it
I simply couldn't resist this little guy. How cute is he!!
$2.99
Lastly you need some scissors, some good glue,
and a clear rubber band
Watch my Youtube Tutorial here:
Here is finished pumpkin #1
How cool does that tight lace look? So much easier than painting or drawing!
#2... I love the vibrant orange peeking through the black!
Another bargain I found that I had to have is this adorable black cat. Now that I have a black cat I've been keeping my eyes peeled and this was a score. $7.99 with my 40% off coupon!!
Also the gold little gourd on the right I cut a small hole in to fit the candle. Another great decor idea, especially for the dining room table!
"Do it Myself Monday" brings another easy and simple project just in time for fall.
The one that I came up with reminds me of something I would see in a Potter Barn or Z Gallerie store. All you need these few items:
Glass Cylinder Candle Holder
Michael's $3.99
Fall foliage picks
Michael's $0.99 and $1.99
Scissors & Glue
Aleene's Glass & Bead Adhesive
(I decided to try a different kind of glue this time)
Watch my Youtube tutorial here
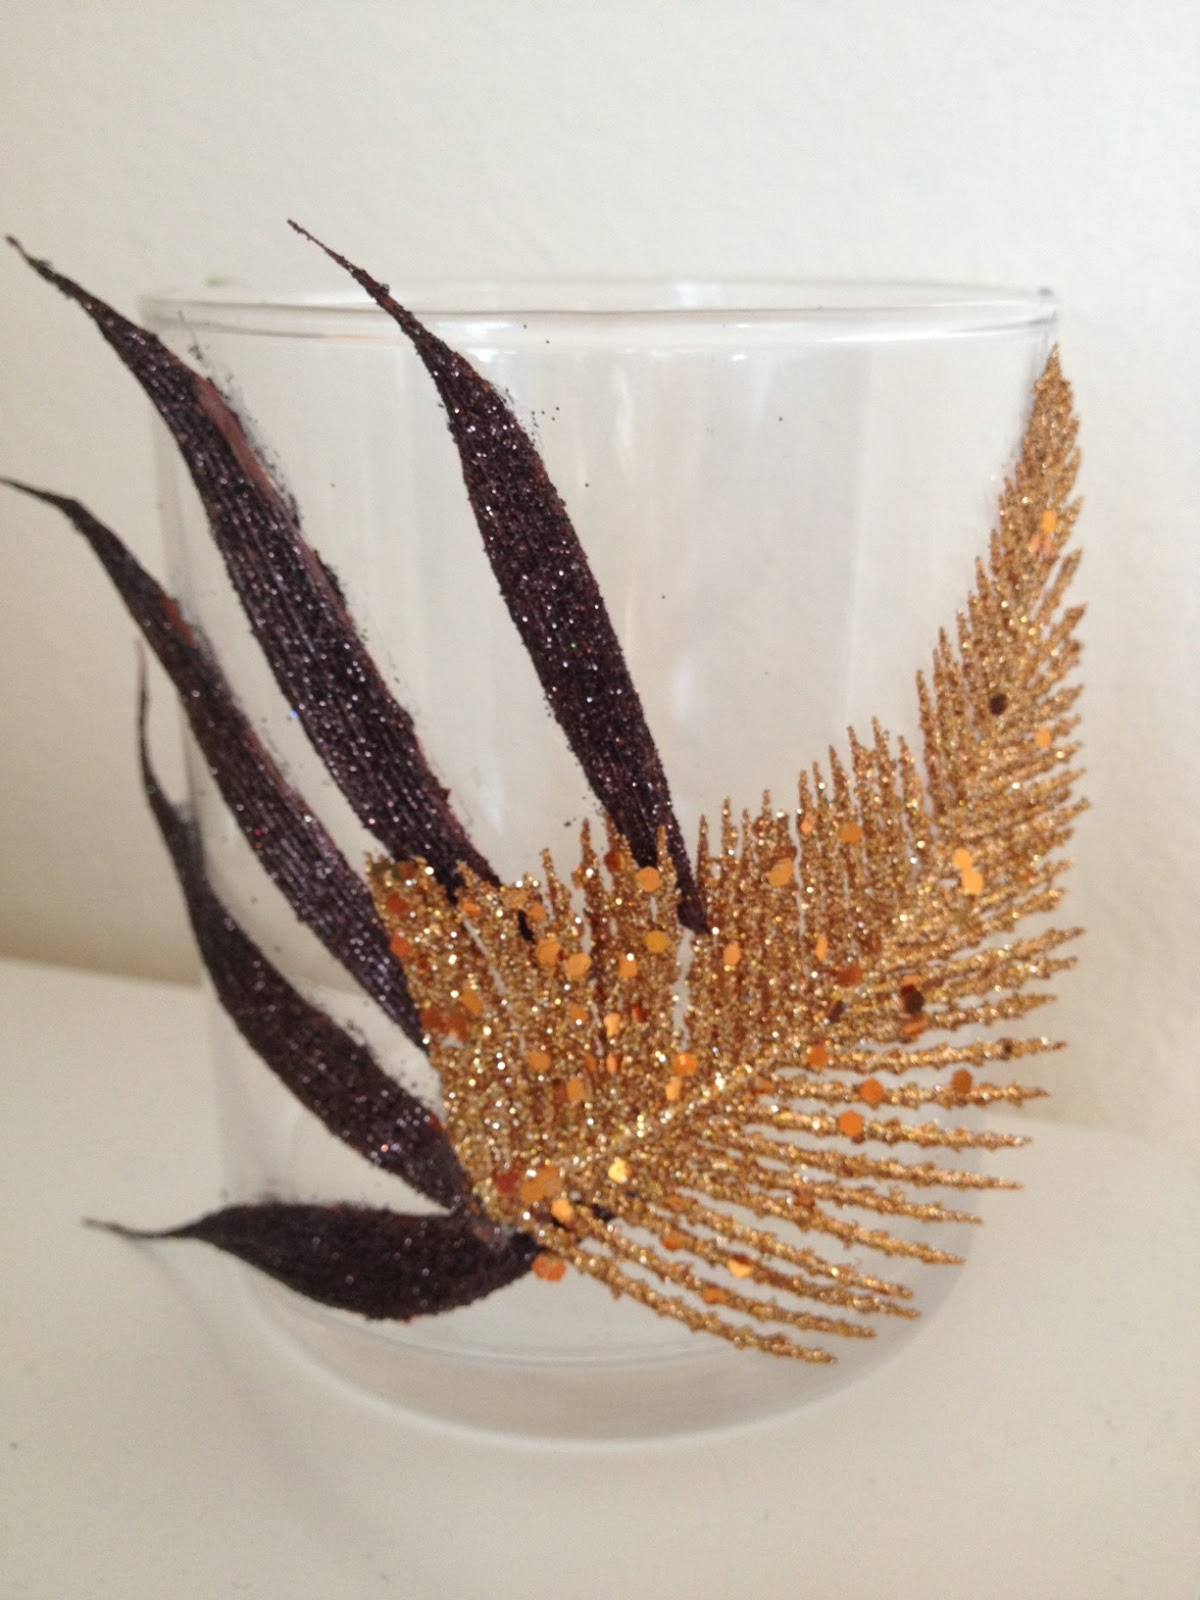
Here is the finished project
And that's it! These would make perfect additions to a dining room or coffee table for the Fall. Of course you can also use Christmas picks for the upcoming holiday season! Let your imagination run wild!
Today I'm launching not only a new name for my blog and Youtube Channel also "Do it Myself Monday" which will be a weekly series on my channel. I originally had my DIY's as "DIY Friday" but someone else started using that a few months after me so I thought I would switch it up. Stay tuned and make sure you subscribe! This project I saw on Pinterest a while ago back when I first adopted my little boy, and had been meaning to try out. I finally got around to it (after saving up some toilet paper rolls!) and decided to film it. The items you need are:
1 Empty Tissue Box
14 Toilet paper cores
Glue
Scissors
It's super easy to put together and doesn't cost anything more importantly. You don't want to put a lot of money or time into this just in case your cat rips it to shreds!
Here's the finished product! Crude looking but serves the purpose :)
I realize this DIY would have been perfect for the beginning of the summer. Believe me I had every intention of doing that! However circumstances prolonged this diy and so without further ado here it is :) It doesn't involve any sewing which is a plus for something quick and easy. Plus it's kind of one of those laid back type of looks for a bag which is always good to have! What you will need: ~ Tshirt ( I cannot find the picture I took! You can use any tshirt really with any neckline. Just make sure it's not too small for a bag size) I did find the t-shirt at Michael's on sale for only $3.00
Beads with larger holes
( you will need them bigger to fit the fabric through)
These are from Jo Ann's around $2.99 a piece (I didn't even use all of them)
Scissors & Measuring tape
Here is the finished product
Here is one I made with no beads
This is the first one I tried. I think it's cute with a graphic tee
Check out my Youtube Tutorial for this DIY here:
Leave a comment or take a pic and hashtag #discoveringamy if you end up making one! I want to see your creations :)
In another one of my previous posts I showed you a pretty silver lampshade I found on clearance at Marshalls. While I loved the shape of the shade and the simplicity of the silver, I found myself daydreaming of how I could tie it in with my room décor a little better. I'm absolutely in love with peacock feathers, and my room's color scheme came from the colors in the feather. I have different touches of feathers throughout the room and so I decided to add one more with this lampshade revamping idea. If you are wanting to revamp either a new or old lampshade the possibilities are endless. Let your creativity flow and your imagination run wild! Here are the items I picked up for this project.
Lampshade- Marshalls $10.00
One peacock feather- This is from ZGallerie for $1.95!
Also if you have Anna's Linen stores in your area they have them for $1.50. Most of the craft stores are double and even triple that.
Rhinestone Charms from Michaels- $3.99
(Bought two packs @ 40% off each)
Fabric Flower pin from Michaels- $2.99 w/ 40% off
(Bead Landing items were on sale that week:)
E6000 Glue $4.99 (needed to replace my old one) from Michaels- Scissors & Pliers
Here is the finished product on a lamp
Let me know if you try a project like this and take pics and post them on my Twitter and Instagram!
Not too long ago I purchased new things for my bedroom makeover at my favorite store Z Gallerie. I had been eyeing a duvet set in this amazing indigo blue color and wanted to get the Casablanca lanterns to match. To my surprise one day everything I wanted was 50% off! So I snatched up my duvet and shams along with two of these lanterns. In the back of my mind I wanted to make them into lights and ultimately I decided to make one into a nightlight. The only things you need to make this are:
Lantern of your choice
Medium sized Z Gallerie "Casablanca" Lantern $7.50
Plug in Candlestick light $3.99 at Jo Ann's
Double sided tape $2.99 at Michael's
Here is it illuminated on my vanity table. I love how the light gives off the pattern of the lantern onto the walls



.jpg)


